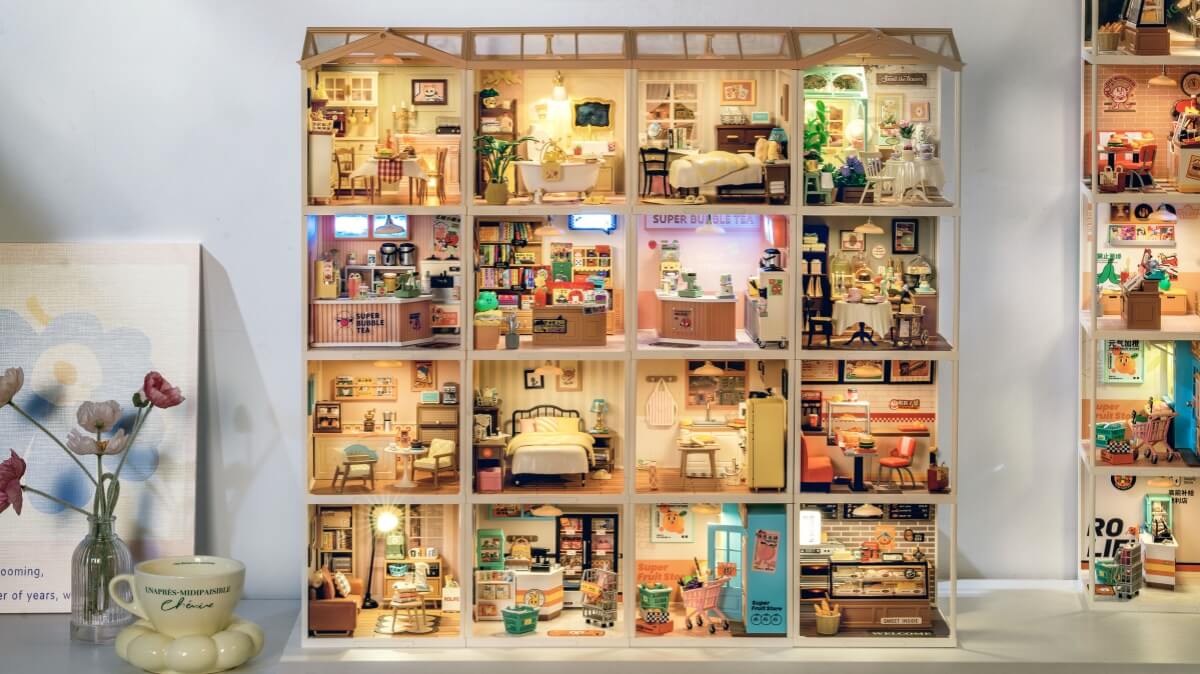




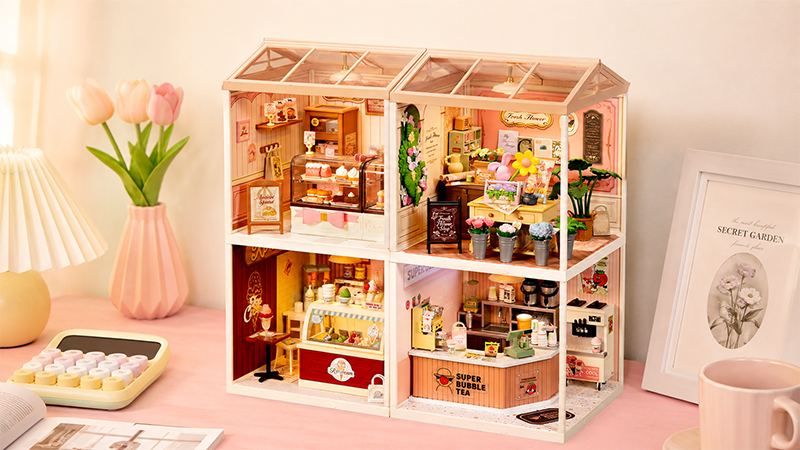
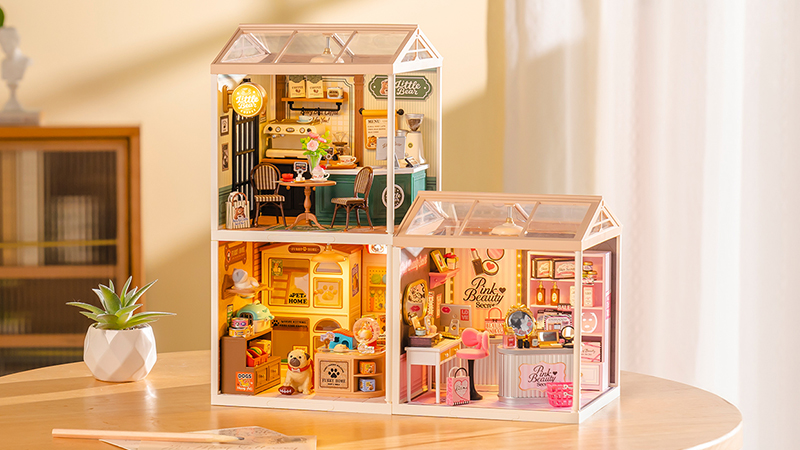

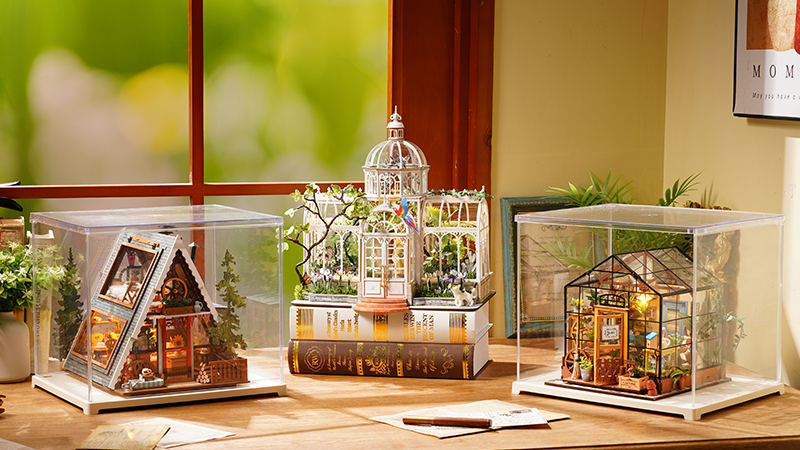
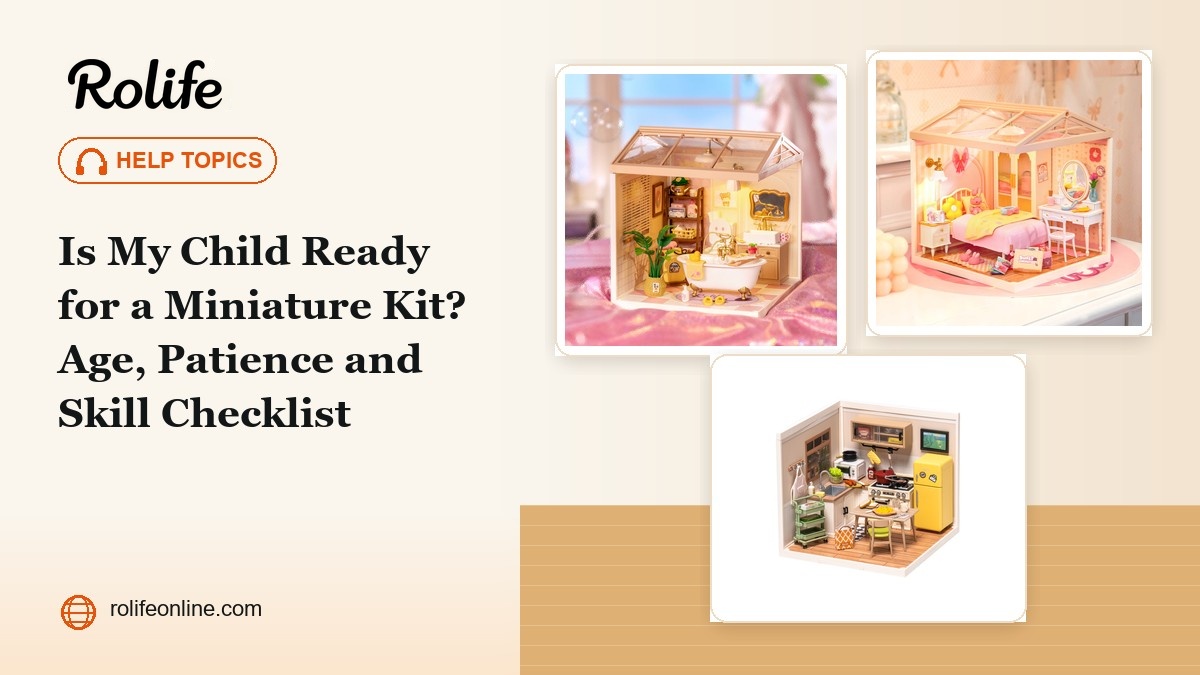
A miniature kit can be a satisfying project for a child or teen, but the age printed on the box answers only the first question. A good first build also depends on patience, comfort with small parts, willingness to follow instructions, and how much adult help is available.
Quick Answer
Your child may be ready when the product's age guidance includes them and they can handle small pieces, follow illustrated steps, work in short focused sessions, accept repetition, and ask for help before forcing a part. Start with a short supervised trial and choose the adult-support level that fits the child today. Readiness is not a pass-or-fail label, and it can vary from one kit style to another.
Safety Age and Build Readiness Are Different
Safety guidance comes first. Check the exact product packaging, warnings, and age recommendation before opening the kit. If the child's age is below the stated recommendation, choose a different project; adult supervision does not cancel a product warning.
Once the label fits, readiness becomes a practical question. Two children of the same age may have different patience, hand control, instruction habits, and interests. One may enjoy a structured snap-fit room but dislike paper flowers; another may happily shape tiny details yet need help with tight wooden tabs.
Key Takeaway: The age label sets the safety boundary. The checklist below helps you choose whether the build should be adult-led, shared, or mostly independent.
Six Signs Your Child May Be Ready
- Fine-motor control: They can pick up, rotate, place, and press small craft pieces without automatically crushing or throwing them.
- Instruction habits: They are willing to compare the part number and picture before acting instead of building only by guesswork.
- Focused attention: They can stay with one hands-on activity for a useful stretch, even if the full project takes several sessions.
- Tolerance for repetition: They can repeat similar folds, placements, or press-fit steps without expecting every minute to feel new.
- Response to setbacks: A tight fit, misplaced sticker, or dropped part can lead to a pause or request for help rather than force.
- Active help-seeking: They can stop when a step feels unsafe, confusing, or likely to damage a part.
A child does not need to be strong in every area. The pattern tells you how to structure the first session and which tasks an adult should own.
Try This 10-Minute Readiness Check
- Show the child one illustrated instruction page and ask what they think happens first.
- Ask them to sort a small group of safe craft items by shape or number.
- Have them complete one reversible step, such as matching two parts without forcing them.
- Introduce a minor pause: put the pieces down, recheck the picture, and resume.
- Ask what they would do if a part did not fit.
If the child enjoys the process and uses the instructions, move to a guided first kit. If they rush, force parts, or lose interest quickly, choose a shorter adult-led activity and try again later. This is an informal planning exercise, not a developmental assessment.
Three Readiness Levels and the Right Amount of Help
| Readiness level | What you may notice | Suitable starting format | Adult role |
|---|---|---|---|
| Level 1: Adult-led explorer | Interested in the theme but needs frequent reminders, tires quickly, or tends to force small parts. | A short Mini Super Creator or Super Creator session only when the exact product's age guidance includes the child. | Stay present throughout. Control loose parts and any tools, adhesive, lighting, wires, or batteries. Let the child choose colors, sort safe pieces, or place approved decorations. |
| Level 2: Guided first builder | Can follow pictures for a short session, handle parts carefully, and ask for help when a step resists. | Super Creator, Mini Super Creator, a Basic Difficulty kit, or a simple Story Frame, subject to the exact label and instructions. | Set up the workspace, preview difficult steps, remain nearby, and take over only the tasks that require adult handling or exceed the child's current skill. |
| Level 3: Independent detailed builder | Can self-check, protect unfinished work, return over several sessions, and recover from small mistakes. | A beginner Book Nook, Story Frame, or selected DIY Miniature House whose age guidance, tools, and assembly method are appropriate. | Review the label and manual first, agree on tool boundaries, and provide check-ins. Stay available for lighting, adhesive, delicate fitting, or any step the instructions assign to an adult. |
These levels are not tied to a fixed birthday. A confident builder may be Level 3 with a familiar press-fit structure and Level 1 with paper shaping, wiring, or a long traditional miniature-house build.
What Makes a Better First Miniature Kit?
Choose for early progress, not the most impressive finished photo. A good first project should make the next step visible and give the child several natural stopping points.
Clear structure
Look for illustrated instructions, numbered parts, and an assembly style the child can understand before starting.
Manageable detail
Prefer fewer fragile decorations, less repetitive paper shaping, and parts large enough for the child's current hand control.
Low-friction setup
A contained workspace and a lower-mess assembly style can make it easier to pause without losing progress.
Real interest
A theme the child chose is often more motivating than a kit selected only because an adult likes the finished design.
Compare the actual build styles in Rolife Kit Types Explained, then use the beginner-kit guide to narrow the starting point.
Check These Details Before Opening the Box
- Exact age guidance and warning information: Check the product and version in hand, not a review of an older edition.
- Small-part control: Use a tray or divided container, especially around younger siblings and pets.
- Tools and adhesive: Decide in advance which tasks belong to the adult. Do not improvise with a sharp tool or adhesive that the manual does not call for.
- Lighting and batteries: Treat wiring, switches, and battery installation as separate tasks that may need adult handling.
- Stopping points: Plan where unfinished parts will stay between sessions so the child does not feel pressured to finish at once.
For model and version differences around adhesive, read Do Rolife Kits Require Glue?
For general safety selection, the U.S. Consumer Product Safety Commission advises following age guidance and choosing products that match a child's interests and abilities. See the CPSC toy safety guidance. Always follow the exact Rolife product label and instructions.
How Can an Adult Help Without Taking Over?
- Ask before fixing: “Would you like a hint, a demonstration, or for me to do this one delicate step?”
- Model the pause: Recheck the part number and orientation together before pressing harder.
- Split roles openly: The child can assemble and decorate while the adult manages tools, adhesive, lighting, or very delicate fittings.
- Protect ownership: Return the project to the child after the difficult step rather than quietly finishing the rest.
- Praise the process: Notice careful checking, asking for help, and protecting parts—not only the speed or finished result.
What If My Child Wants to Stop?
Stopping does not mean the gift failed. A miniature kit asks for a particular mix of patience, precision, and interest, and that mix can change over time.
Pause without pressure: Photograph the current step, label loose pieces, store the manual with the kit, and choose a date to revisit—or decide together that the adult will finish it. The goal is to protect curiosity, not force completion.
If the child liked the theme but not the tiny work, choose a more modular or shorter format next time. If they liked the details but became tired, keep the next project and simply shorten the sessions.
Frequently Asked Questions
Does the recommended age mean my child can build the kit alone?
No. It means the product is intended for that age range under its stated guidance; it does not predict patience, prior experience, or independence. Use the readiness checklist and plan adult support.
Can adult supervision make a kit suitable below its age recommendation?
No. Choose a product whose stated age guidance includes the child. Adult supervision helps manage an appropriate project; it does not override warnings or age guidance.
How long should the first building session be?
Use a short session with a clear stopping point rather than trying to finish the kit. Stop while the child is still handling pieces carefully and following the instructions.
Which Rolife kit type is usually easiest to try first?
A short modular format such as Super Creator or Mini Super Creator is often a practical starting point because the structure is clear and progress is visible. The exact product label and instructions still decide whether it is appropriate.
What if my child has the patience but struggles with small parts?
Choose a format with fewer fragile details, use a parts tray, and make the project shared. The adult can own delicate or tool-based steps while the child keeps meaningful assembly and decorating choices.