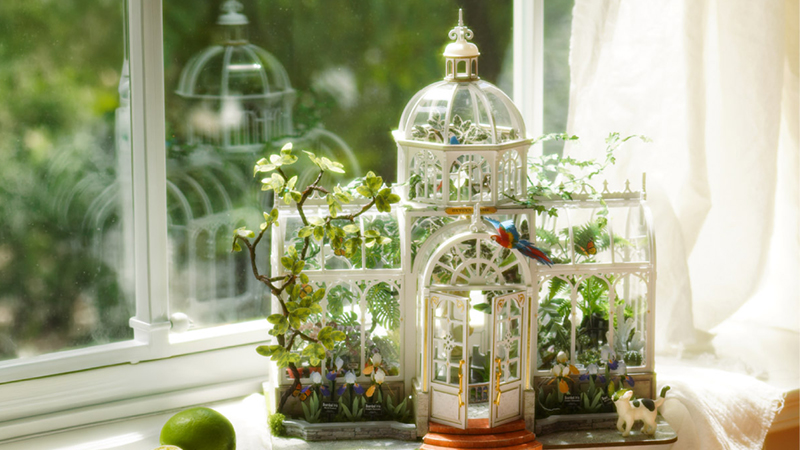

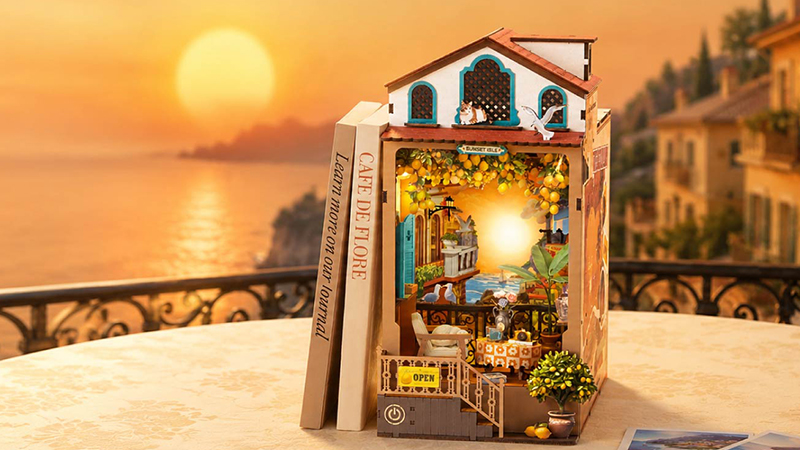
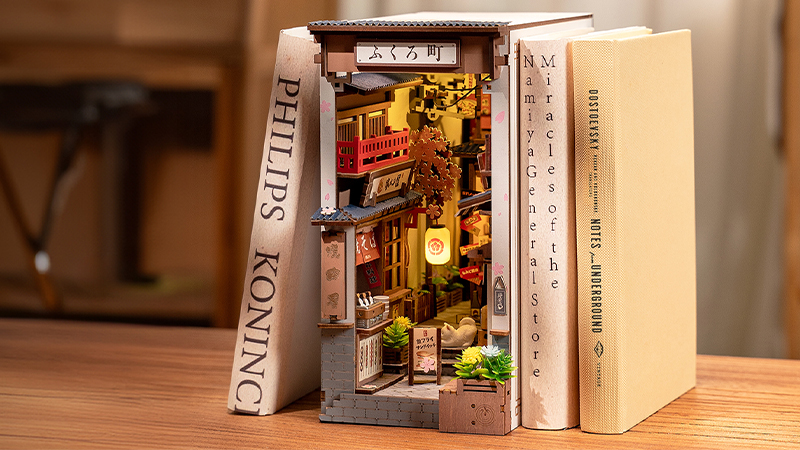
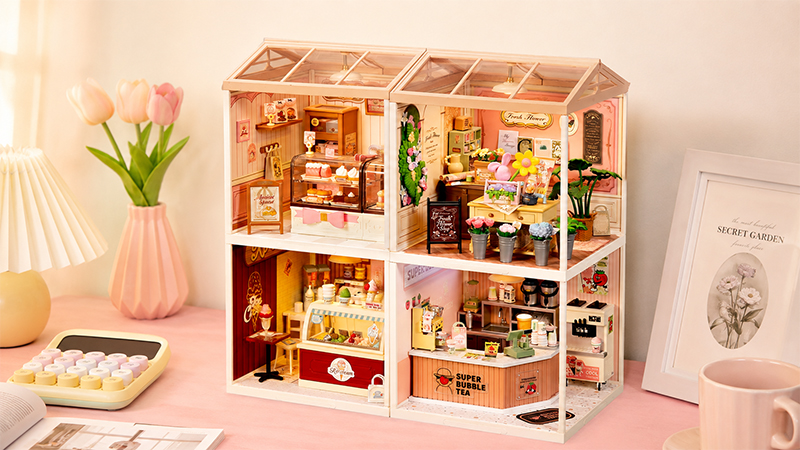


The holiday season is undeniably heartwarming - with cozy traditions and moments of joy. What could be more magical than to create your own Christmas miniature house DIY project? You can make memories that are seasonally radiant with Rolife kits.
In this blog, we’ll walk you through a step-by-step miniature house tutorial that turns small pieces into a whole, festive miniature scene.
Choose a Christmas Project That Fits Your Time
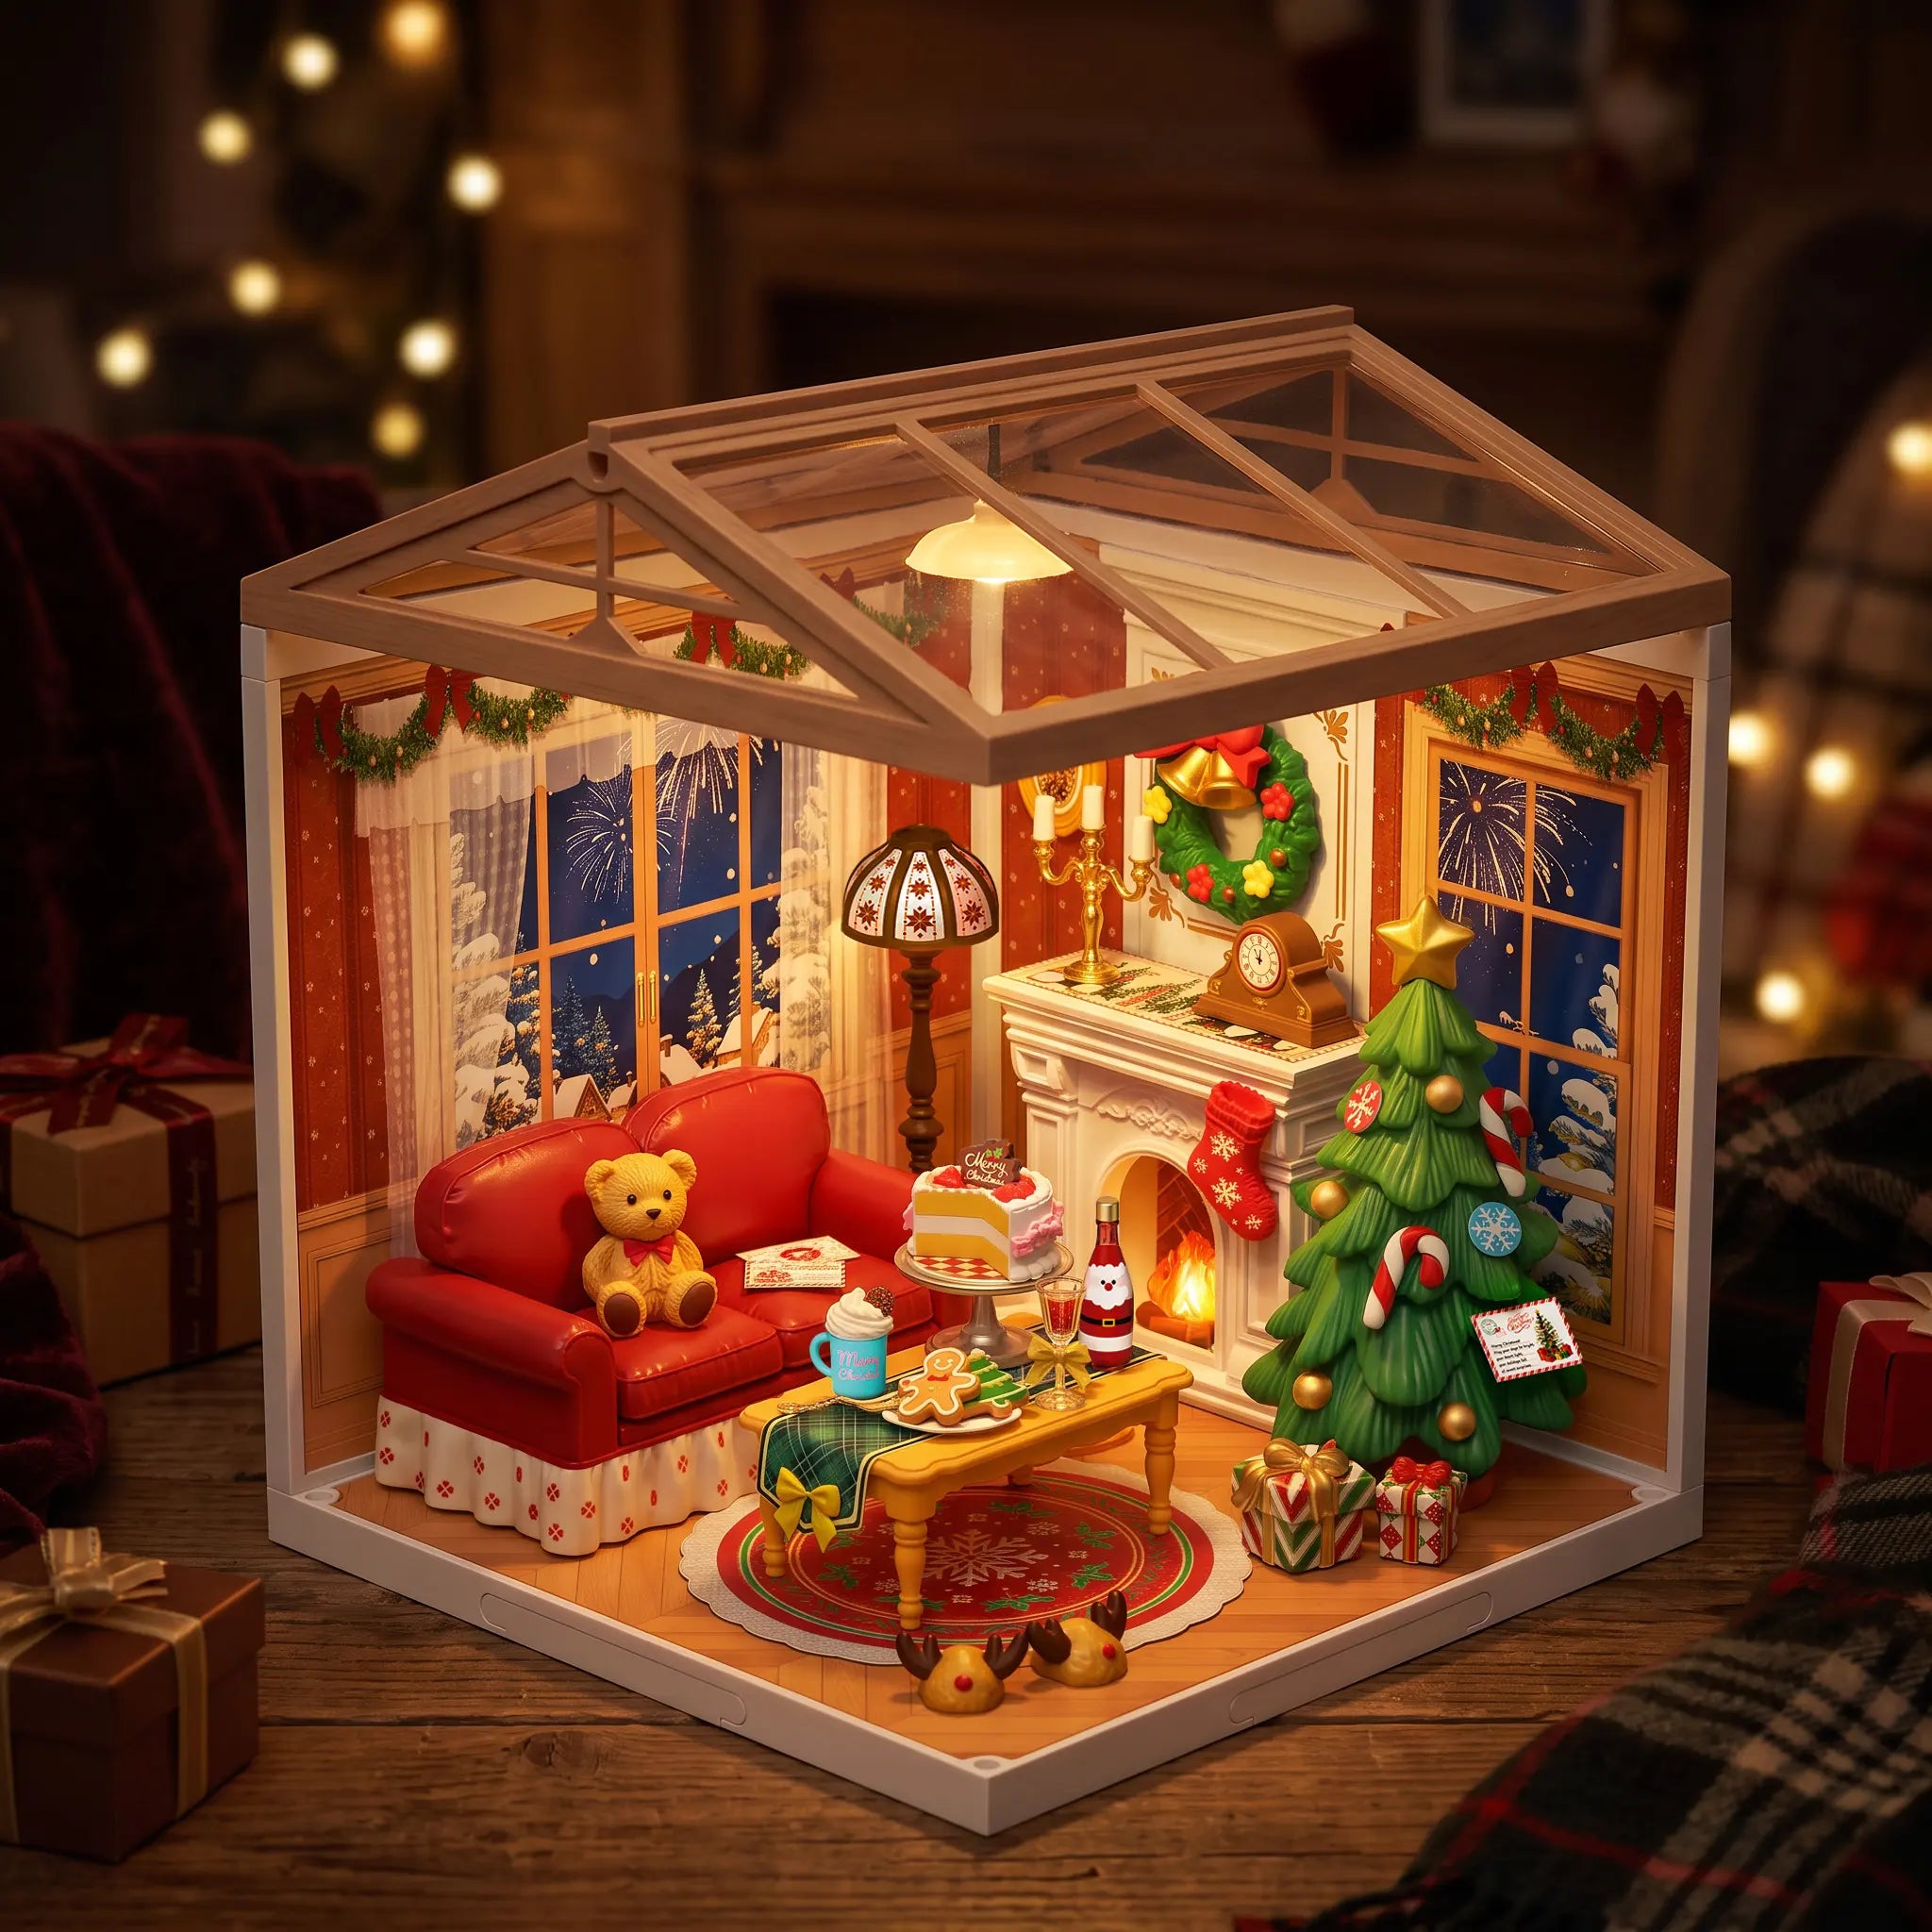
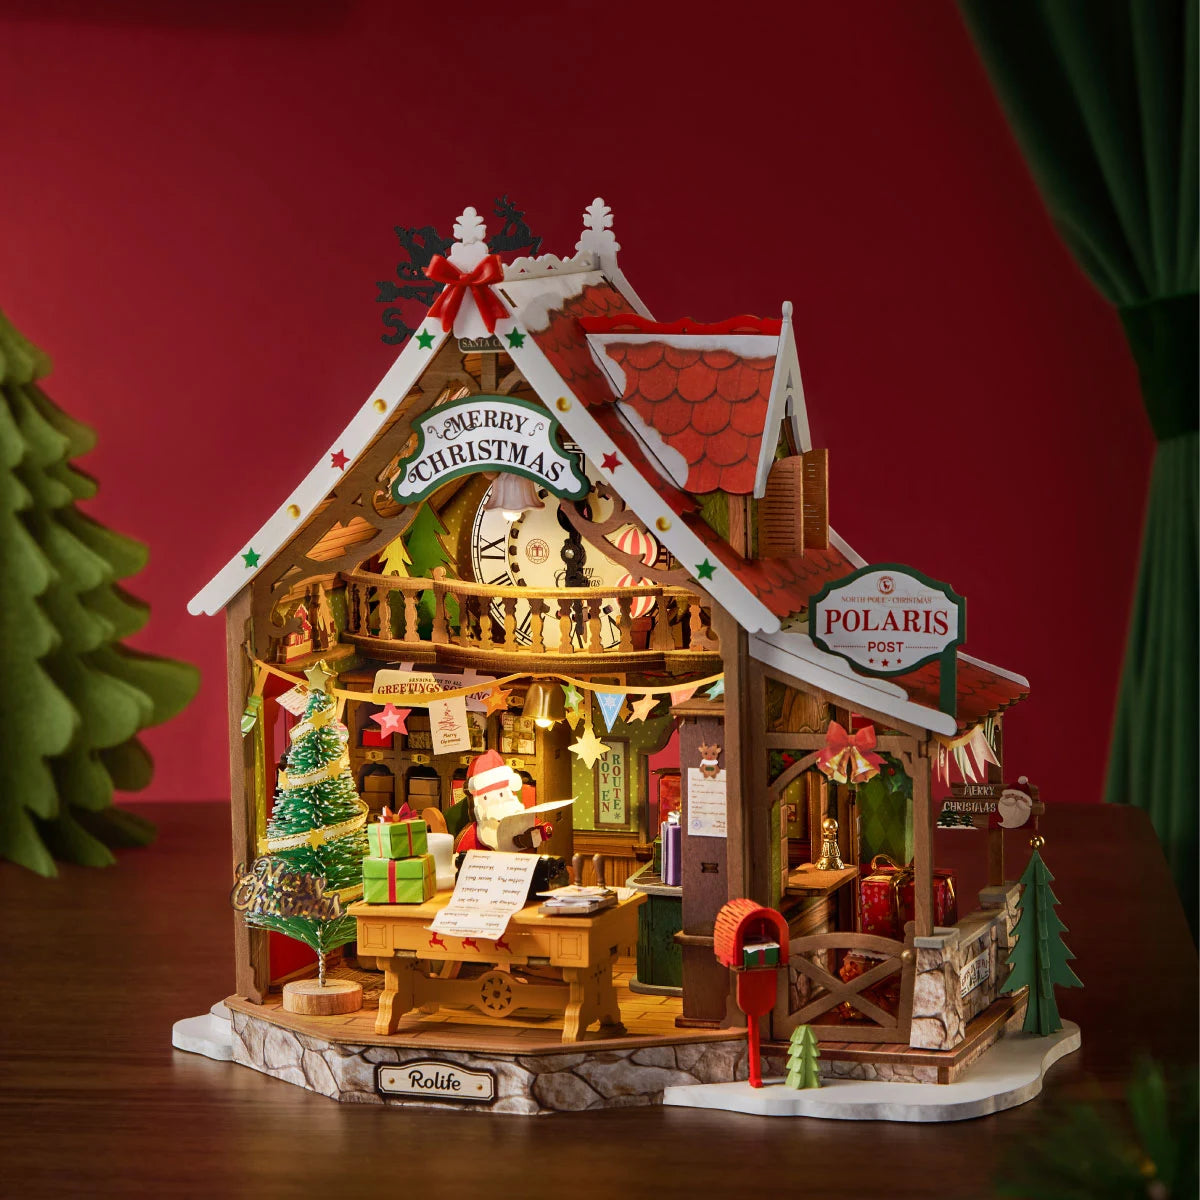
For a short first project, Twinkling Christmas Eve DWZ03 brings together an 88-piece Christmas living room in about one hour, with one-star difficulty. For a longer, more detailed build, Polaris Post DG187 creates a 434-piece Christmas post office in about six hours. Both offer festive interiors, but they involve different building formats, so use the instructions for the kit you choose.
Tools and Materials You Need
Rolife kits have cut the pieces you need, but you might need more equipment to feel comfortable and have fun. The following is a simple checklist to begin with:
|
Tools/Materials |
Purpose |
|
Tweezers |
Moving small items so that you do not lose them. |
|
Glue |
Bond tricky components together |
|
Ruler & Pencil |
Accurate measurement and marking. |
|
Paints & Brushes |
Personalized coloring |
|
Batteries (AAA) |
Powering your LED setup |
|
Scissors |
To cut specific festive props |
|
Wax (candle wax, beeswax, crayon wax) |
To minimize friction |
|
Mini clips and clamps |
To hold glued pieces in shape as they dry |
Treat the tools above as optional aids, not a shopping list for every model. Some projects use pre-made room accessories or snap-fit construction. Check the included instructions before using glue, cutting parts, or adding wax, and use only the power source specified for your kit.
Step-by-Step Miniature House Tutorial
The following is a step-by-step holiday DIY guide that will assist you in making your miniature house:
Step 1: Unbox your Kit

Unbox your Rolife kit from the package. Place all the pieces on your work desk and give yourself a moment to appreciate those minute details. Check the pieces against the instruction manual to be sure that nothing is missing.
This is also the time when you bring out any external tool you’ll need that is not included in the kit. Arrange the pieces into containers to save time and confusion.
Step 2: Build the Structure

Once you are acquainted with the instruction manual, it is time to begin assembling. Begin with the base because it is the foundation of your house. Next, go to the walls and roof.
If your kit requires glue, use the glue provided to assemble the wall frame and make sure the pieces fit correctly.
Step 3: Add festive details

Now is the time to focus on the inside. Assemble the furniture, tiny gifts, and festive decorations. Place decorative trees, small wreaths, garlands, ribbons, and other objects to make a good-looking display. Take care with these parts as the pieces are small and can easily be misplaced.
Step 4: Add Lighting
What’s a Christmas miniature house without a warm, glowing light? The good part: most Rolife kits include LED light components. All you need to do is follow the instructions to install them carefully. Use the power source specified for your kit and test the lights before closing the scene. You can turn it on when you are finished to make your place cozy with a festive feel.
Step 5: Add Personalization

Looking to make your miniature house really special? Include something that appeals to you. It could be a handwritten ‘Merry Christmas’ sign, a small photo, or small handmade ornaments.
Who is the Magical Christmas Miniature House For?
- Holiday enthusiasts who want to bring the spirit of Christmas into their home.
- Hobbyists who like the fulfillment that comes with building something special.
- Collectors who are seeking to add a seasonal gem to their miniature collection.
- Gift-givers who want to offer a meaningful and personal present to people they care about.
Conclusion: A Gift that Recalls Memory.
Building a Christmas miniature house DIY is one way to unleash creativity, celebrate the season, and create cherished memories. Not just that, it is an ideal gift to surprise loved ones.
So, if you’re ready, gather your supplies, get your favorite Christmas-themed kits, and start creating a festive scene that will capture hearts forever.